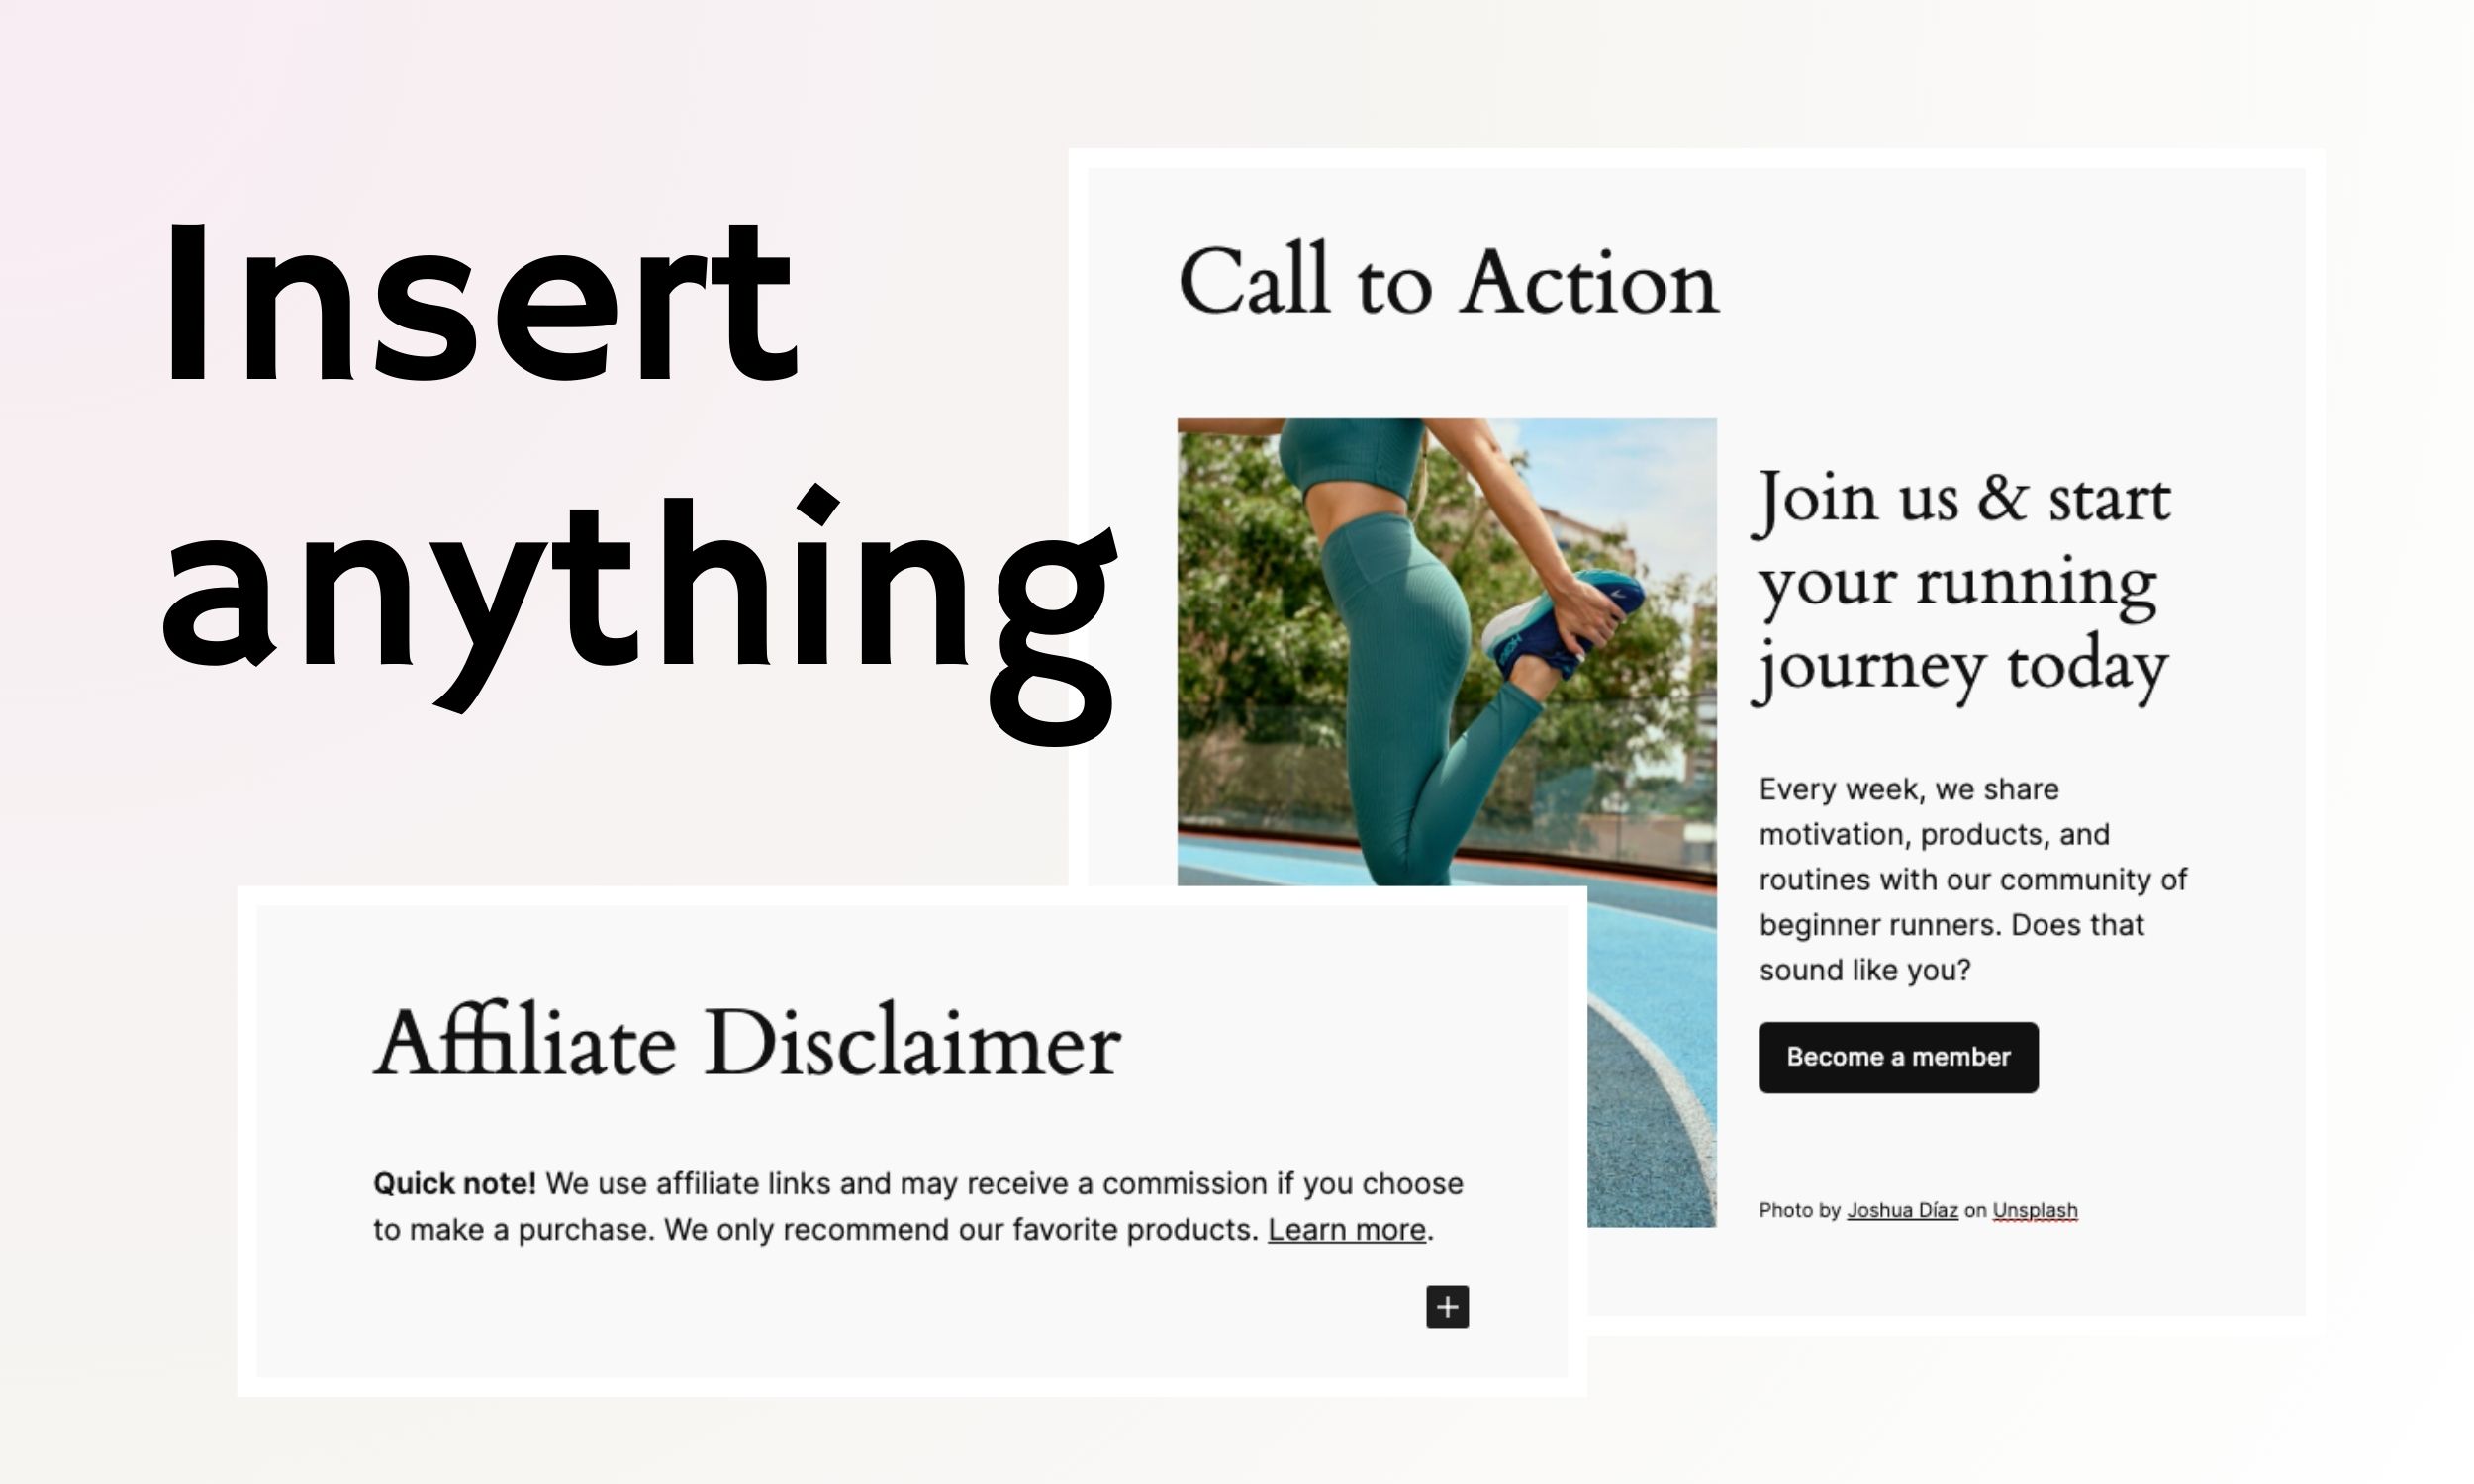
Automatic Block Inserter is a powerful plugin that allows you to easily insert blocks into specific post areas as well as above or below specific block types based on an offset.
Usage
To get started with the Automatic Block Inserter plugin, follow these steps after installation:
Creating a New Automatic Block:
- In your WordPress dashboard, locate and click on the “Automatic Block” menu item.
- Click on “Add New” to create a new block.
- Enter the content for your block just like you would for a post or a page.
Configuring Block Settings:
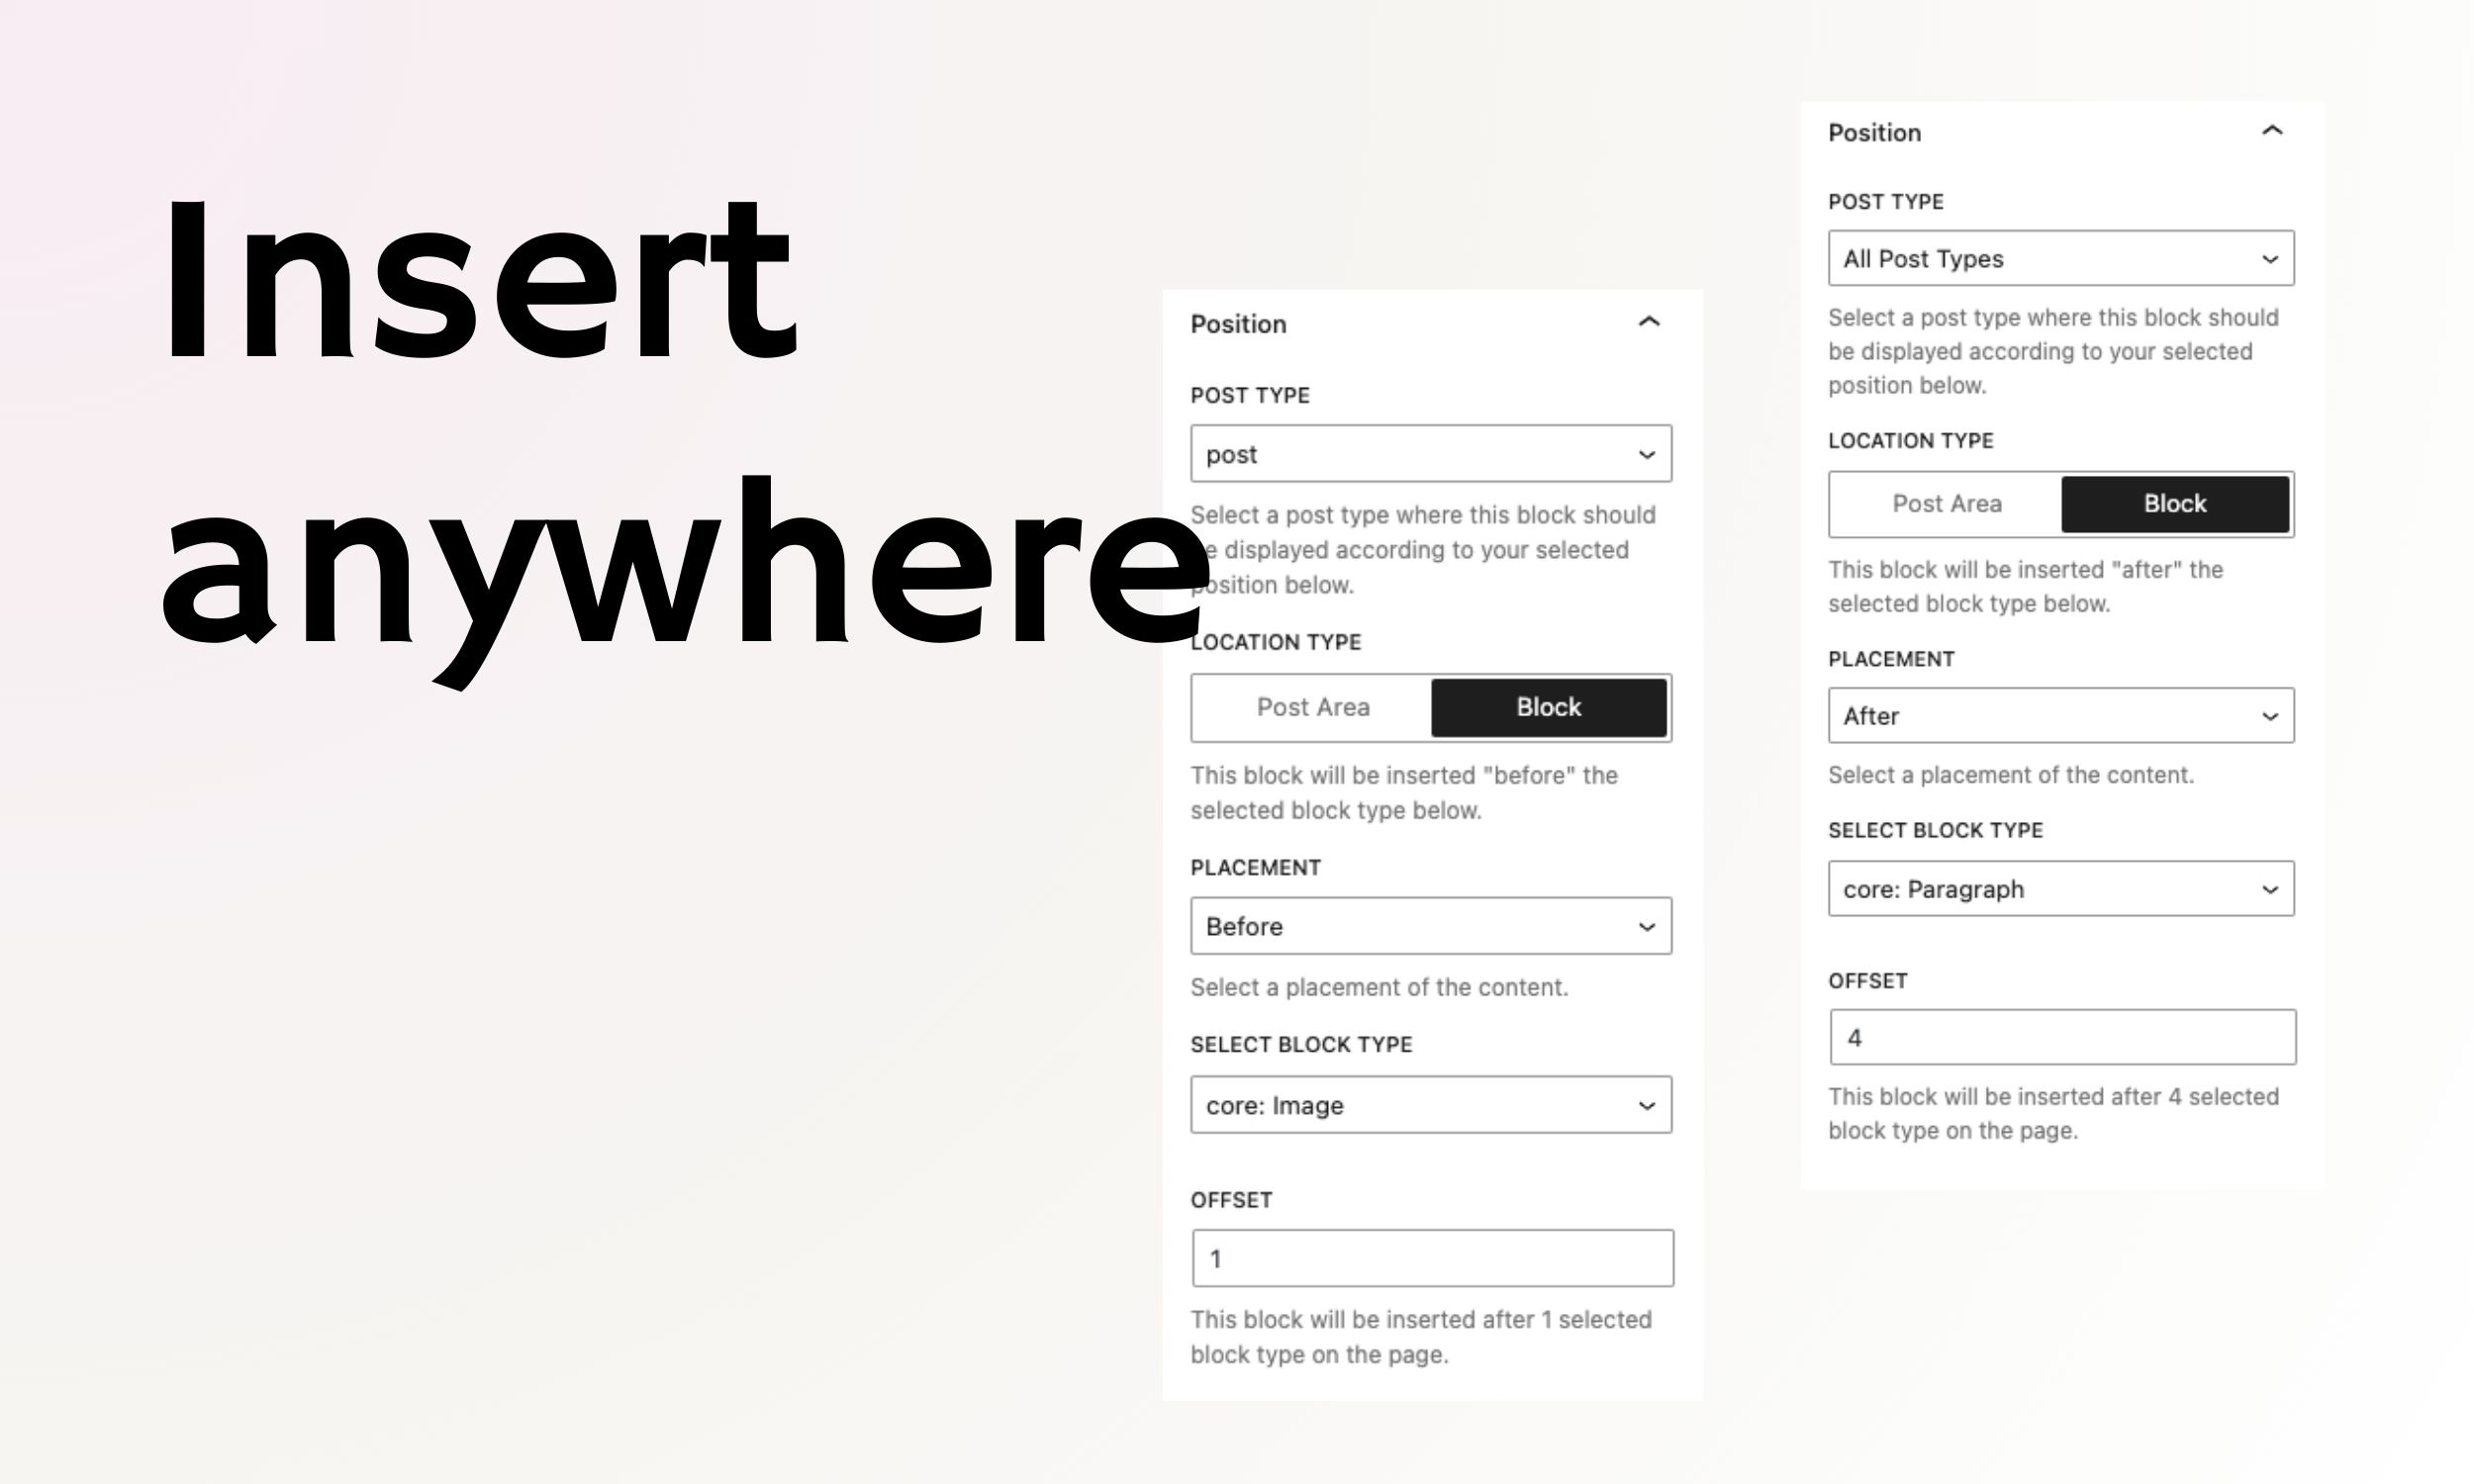
Once you’ve created the content for your block, you’ll see a control in the sidebar named “Position.”
Here, you can configure where and how your block will be inserted:
- Post Type: Choose the type of content you want your block to be associated with (e.g., posts, pages).
- Location Type: Select whether your block should be placed in a specific “post area” or next to a “block type.”
- Position: If you chose “post area,” your block could be set to appear within the “post content.” For “block type,” you’ll get a dropdown menu listing all the available blocks where you can anchor your new block.
- Location: Decide if your block should appear before or after the selected position.
- Offset: This option is available when you select “block type” as your location type. It allows you to specify how many blocks away your new block should be placed from the chosen anchor block.
Insertion Logic and Display:
The plugin uses the settings you’ve chosen to determine where to insert the block in your content.
If you select “after” in the “Location” setting for a post area, for example, the block will appear immediately following the post content.
If you set an offset with “block type,” the plugin counts the specified number of blocks and places your new block accordingly.
Previewing and Adjusting:
You can preview your post or page to see how the block appears with the rest of your content.
If the placement isn’t quite right, you can go back and adjust the settings as needed until you’re satisfied with the positioning.
Multiple Blocks and Conditions:
The plugin allows you to create multiple blocks, each with its own set of conditions and placement settings.
This means you can have different blocks appear in different contexts across your site, offering a high level of customization.